Cool DIY Christmas Decoration - Create a Christmas Candy Jar
One of the words we associate with Christmas is sweets, so if you're into DIY nosotros suggest you become started on this really beautiful Christmas candy jar!
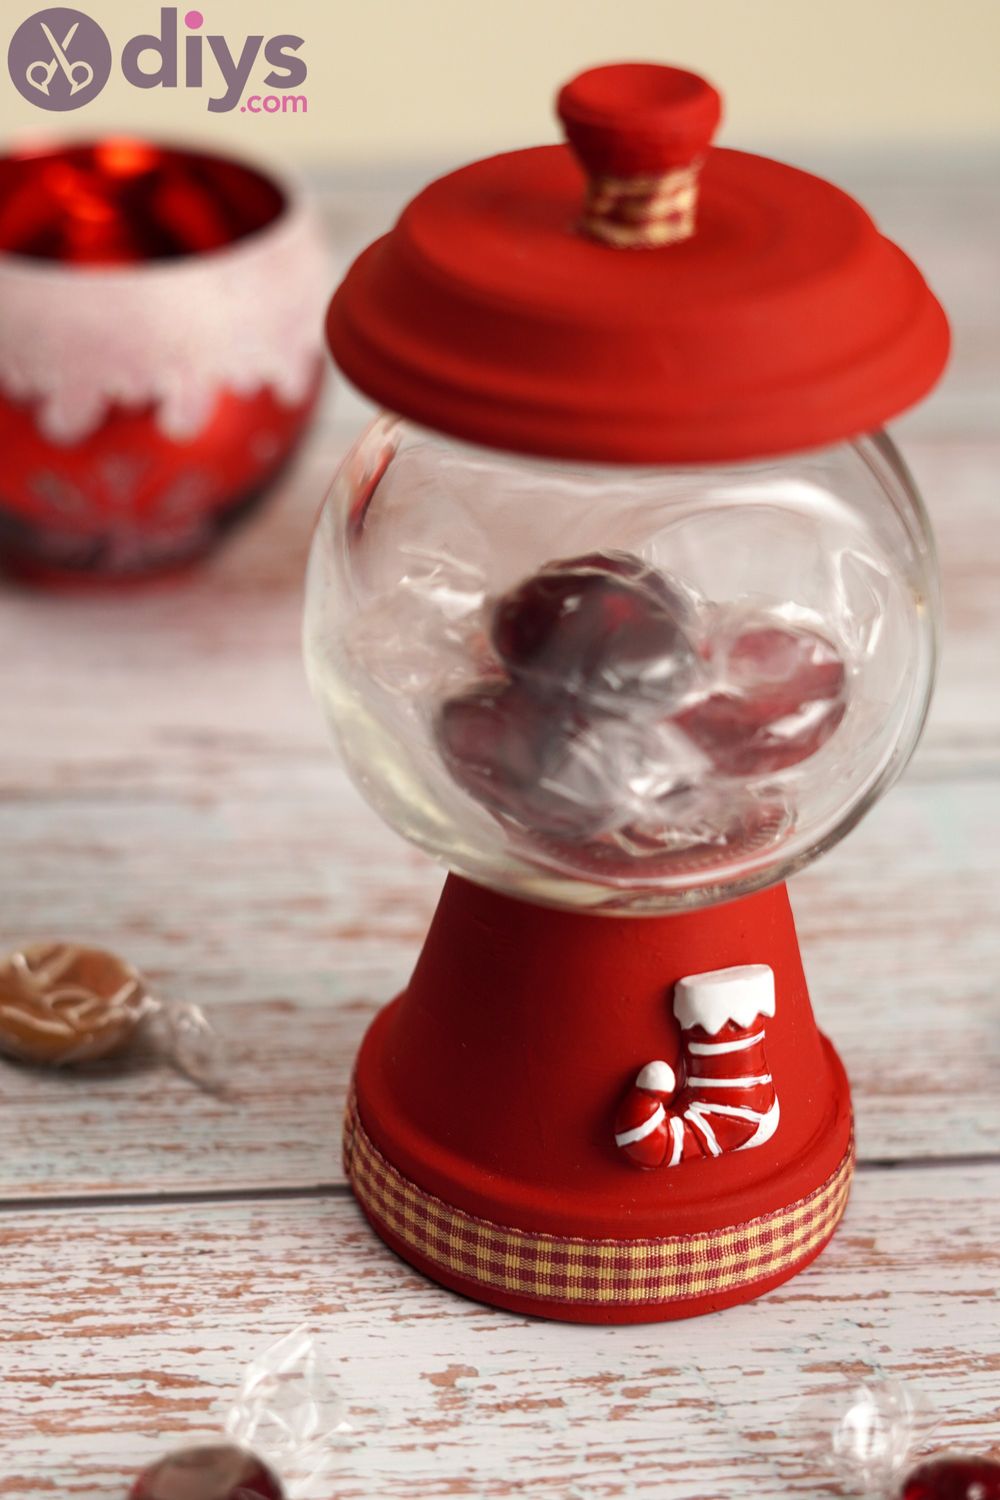
In this way, you'll have a decorative piece in your dwelling that'southward ready to agree your processed stash. Well, function of it, anyhow. It's an easy enough projection that y'all can even get the kids to participate.
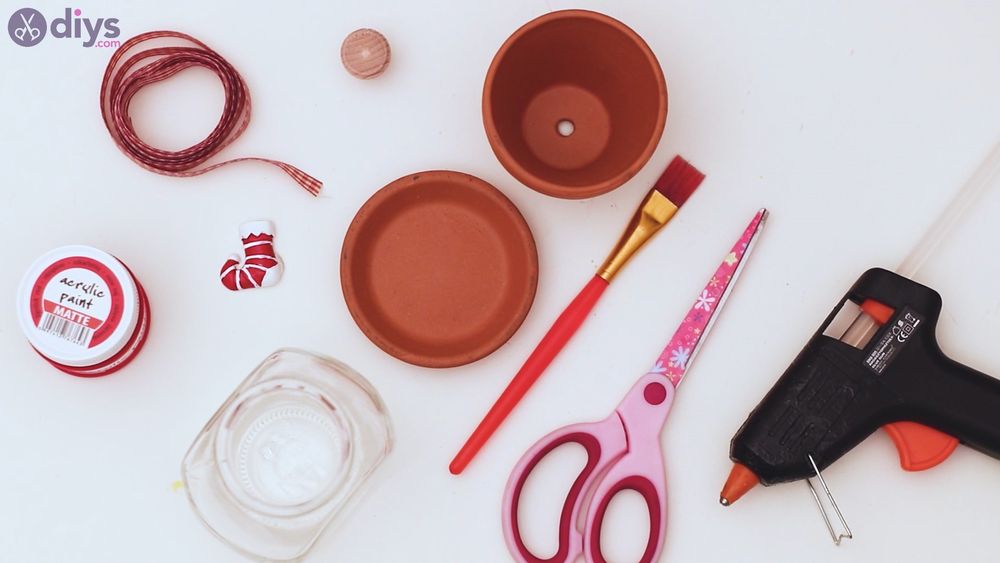
Christmas Candy Jar Materials
Before we get started, we have to know what materials y'all're going to need, right? Well, here's a comprehensive list:
- terracotta pot and underplate
- glass jar
- ruby-red acrylic pigment
- paintbrush
- silk ribbon
- furniture push
- glue gun
- scissors
- Christmas sock decoration
How to Brand a Christmas Processed Jar
Before we proceed, we want to make sure that you have all the materials on hand. This ways that your craft table should await like ours does in the motion-picture show below. Are yous done? Let's get started!
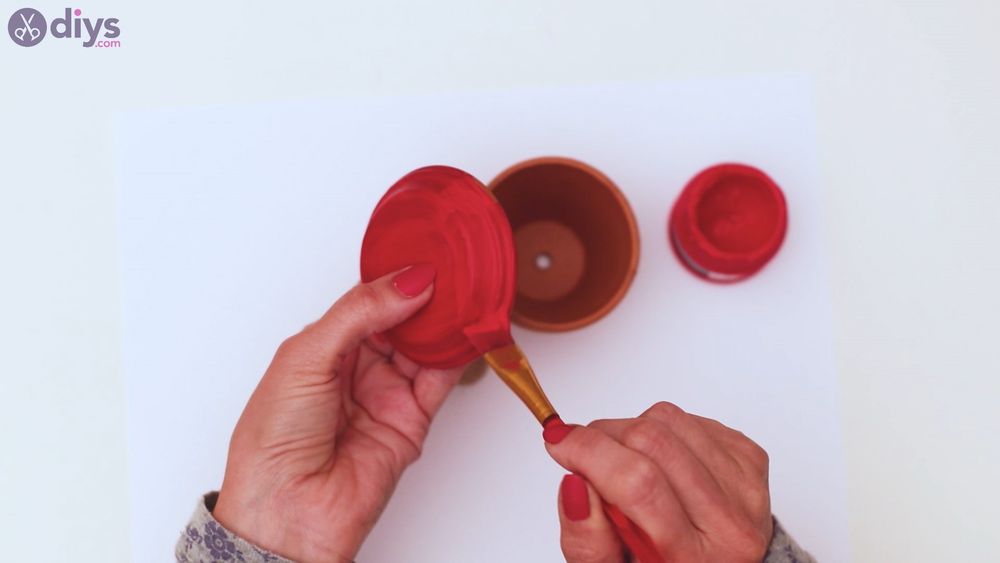
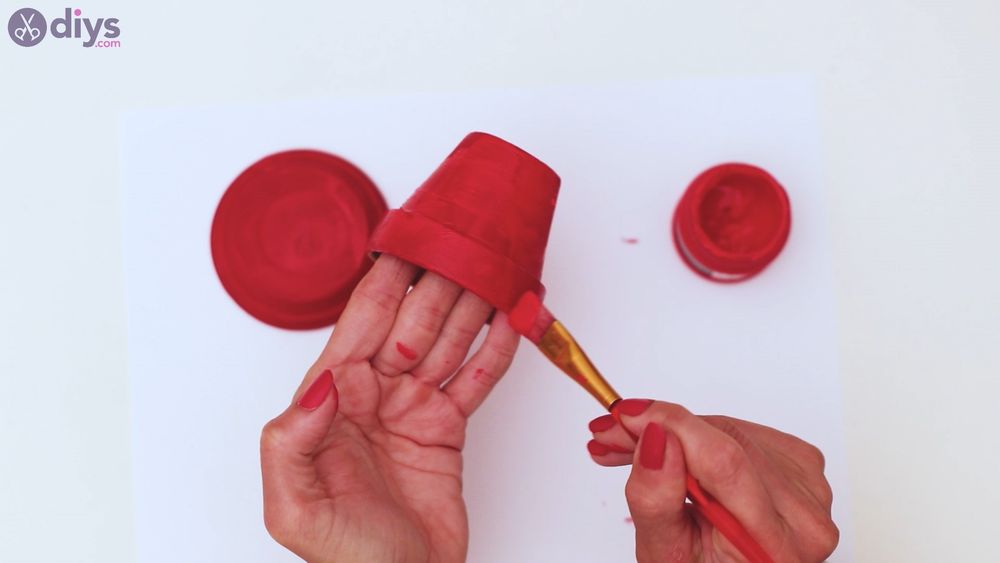
Step one: Paint the Pot
The first affair nosotros're going to do is pigment the pot and the underplate with reddish acrylic paint. You want to do this first to requite it a adventure to dry out out properly.
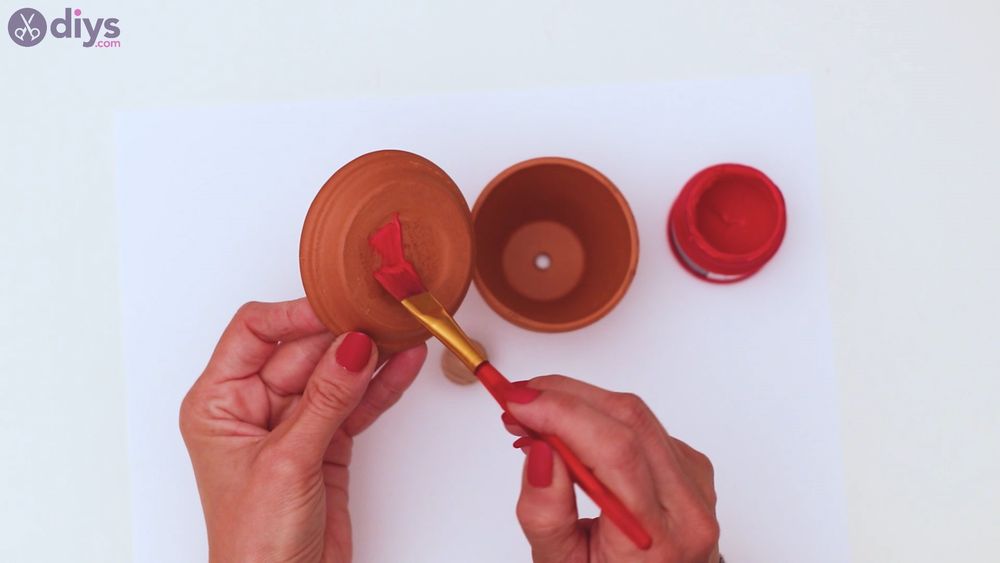
Then, go the paintbrush and your cherry paint and start roofing the terracotta pot and underplate in color. You'll want to paint ane side of the plate and set information technology aside on a slice of newspaper to allow it to dry out.
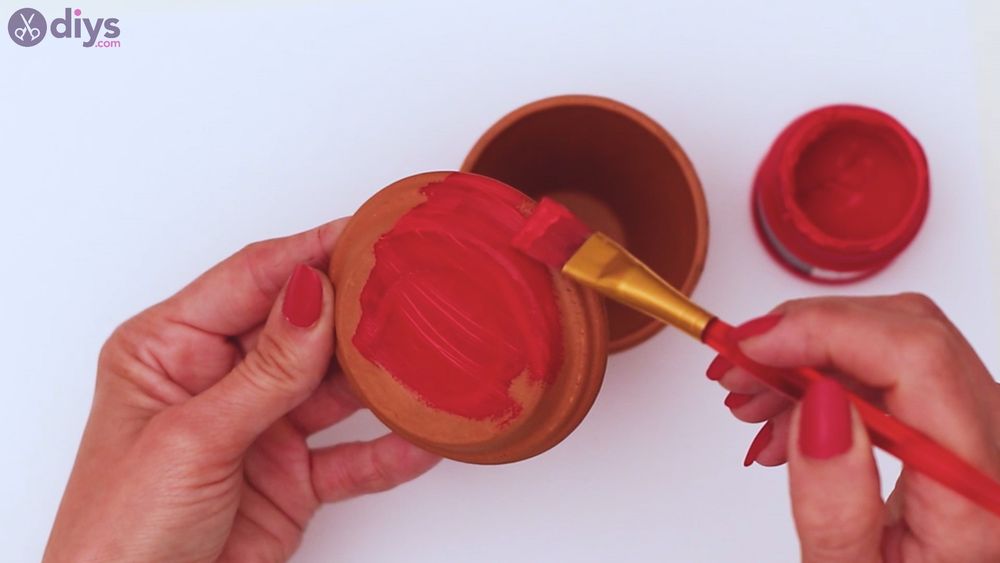
Then, make sure to pigment the within of the underplate besides!
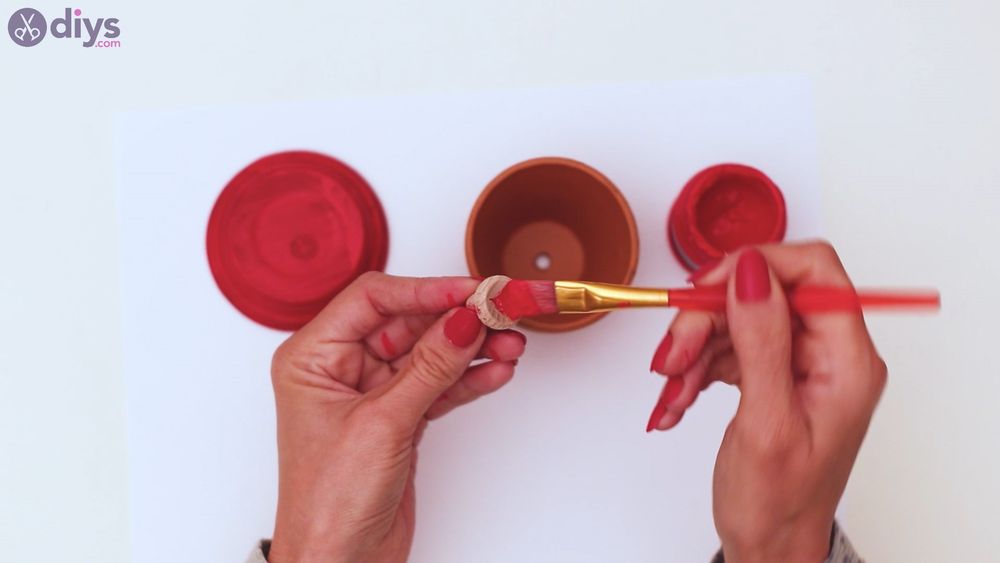
Side by side, get the piece of furniture push button and paint it blood-red, also! Start with the superlative of the push button and make sure to embrace its sides too. Wait a few minutes for the pigment to dry a scrap and and then paint the other parts too!

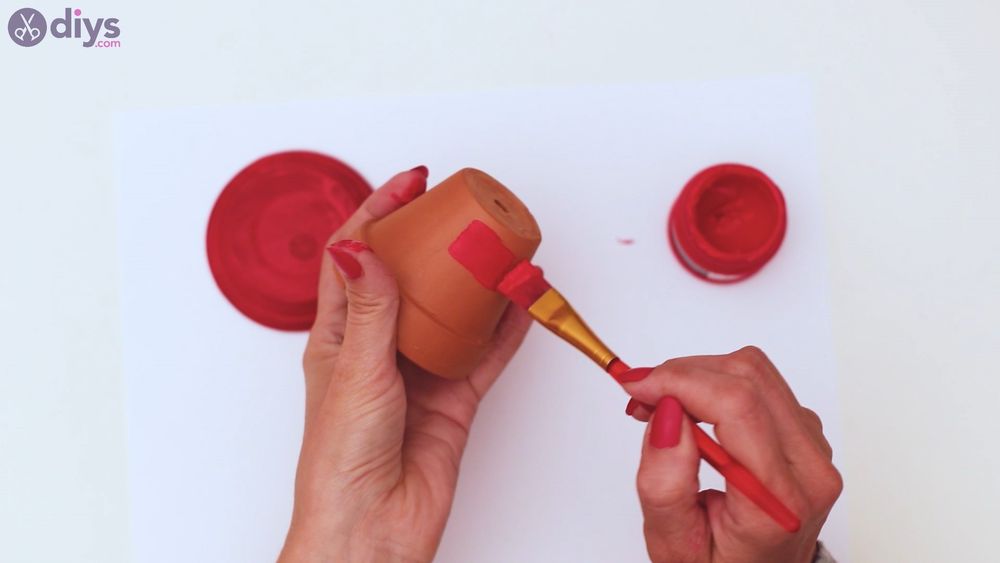
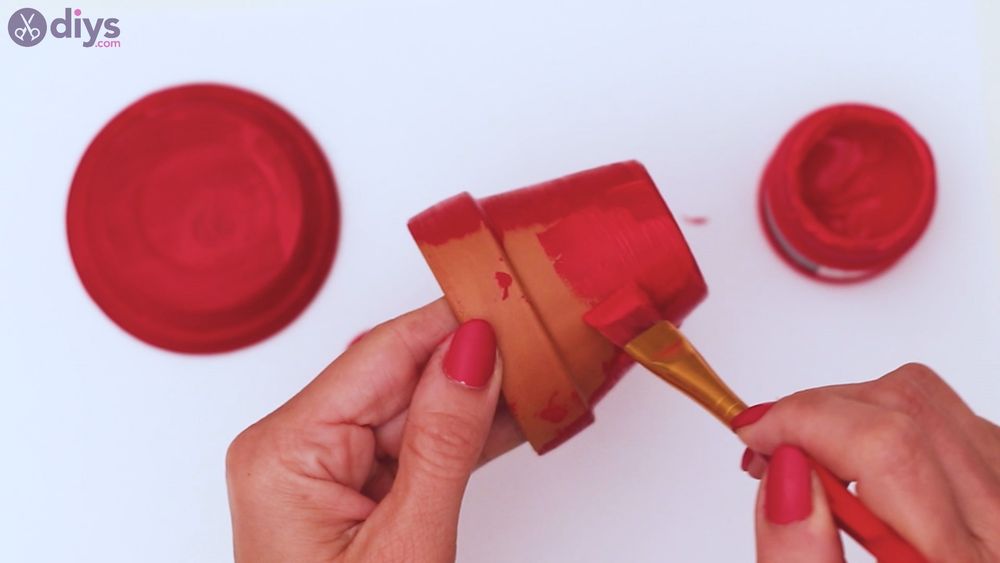
Finally,one thousand allow'south paint the pot. First by layering pigment on the bottom of the pot and build your way upwards. Once yous reach the rim of the pot, you can put your fingers inside of it to concur it, while yous cover all areas with pigment.
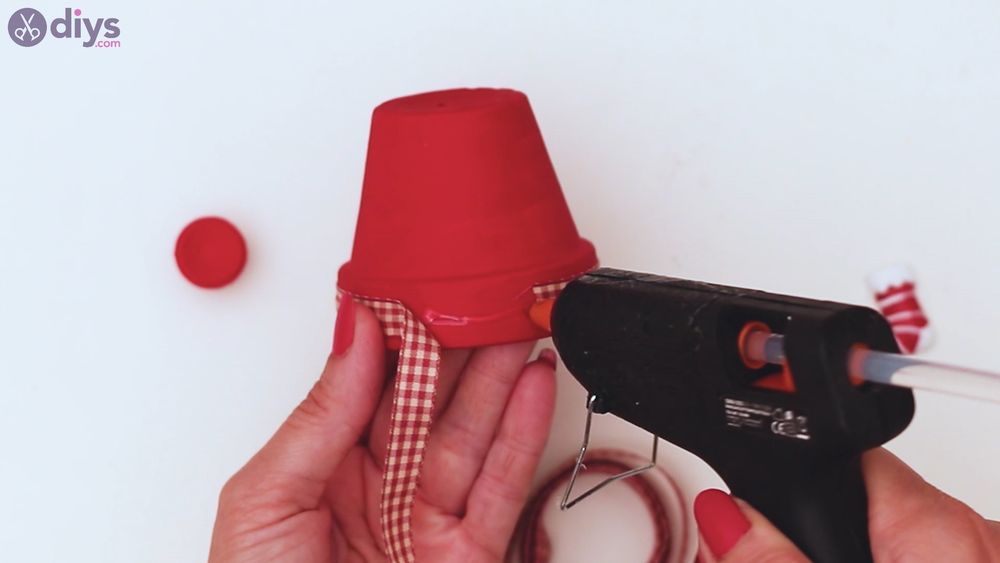
Stride 2: Start Decorating
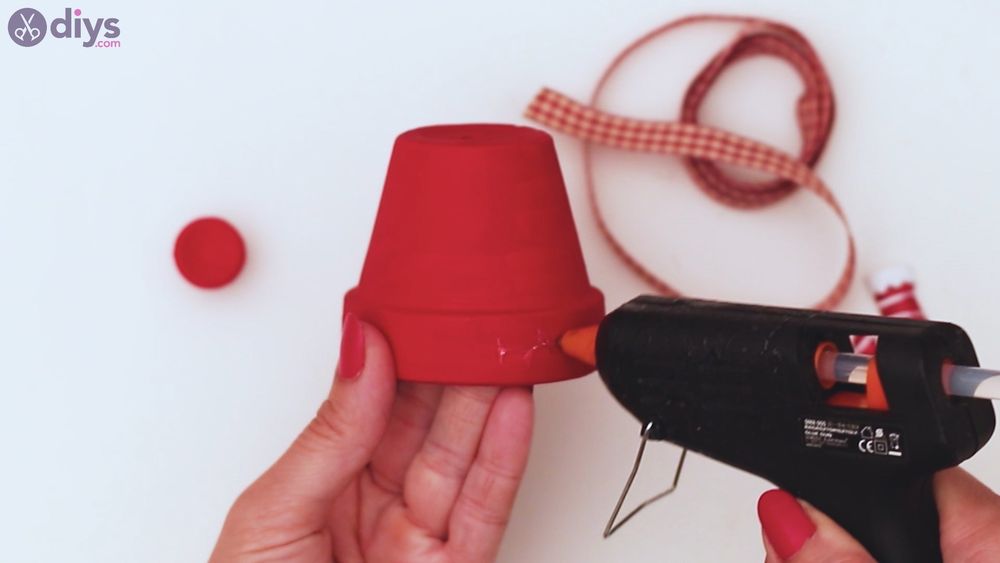
Later on you've waited a piffling while for the pigment to dry, you tin can become ahead and beginning decorating the pot. Go the glue gun and apply some on the rim of the pot. Then, become the silk ribbon and start applying it to the pot. Make sure that the ribbon is practical straight from the start.
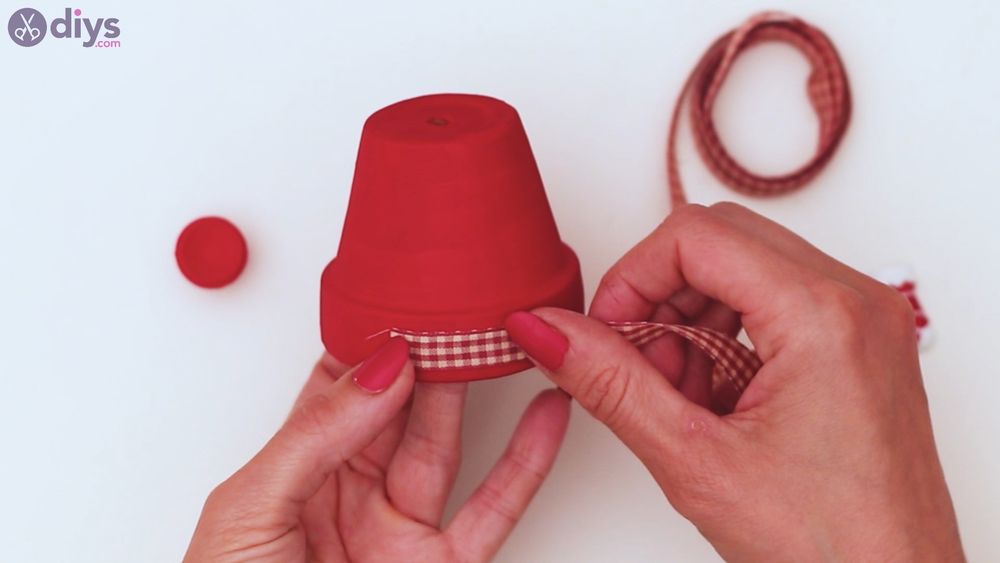
Add more hot glue equally you go, pressing the ribbon into the mucilage, making sure it sets before you movement forward.
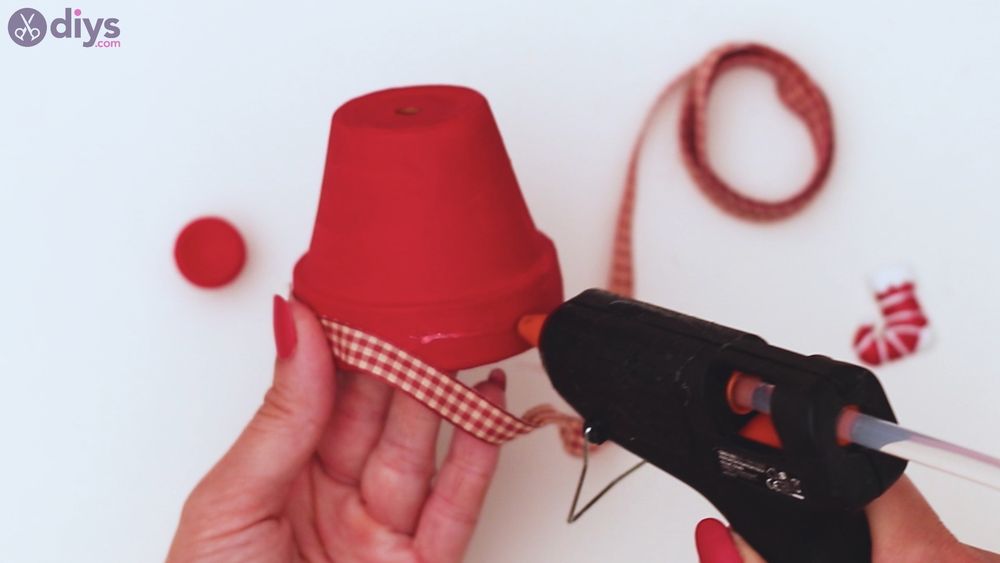
Once you're done, overlap the ribbon before cutting the extra material.
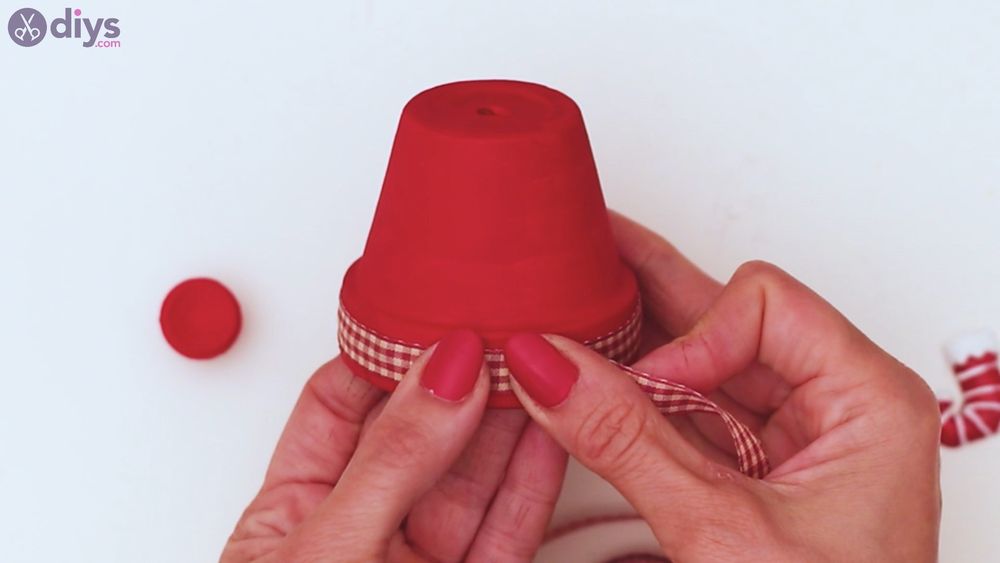
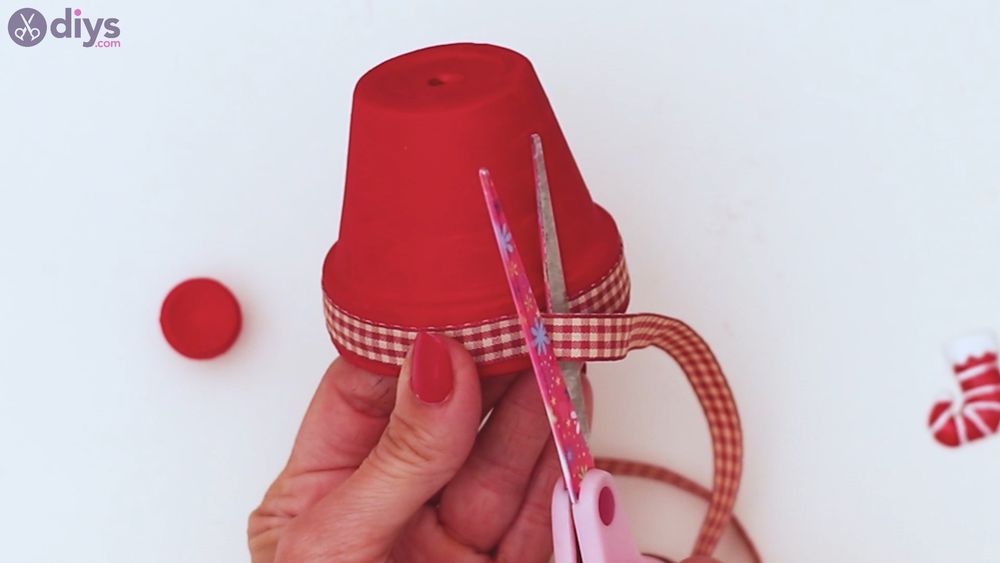
There you become! It looks super cute!
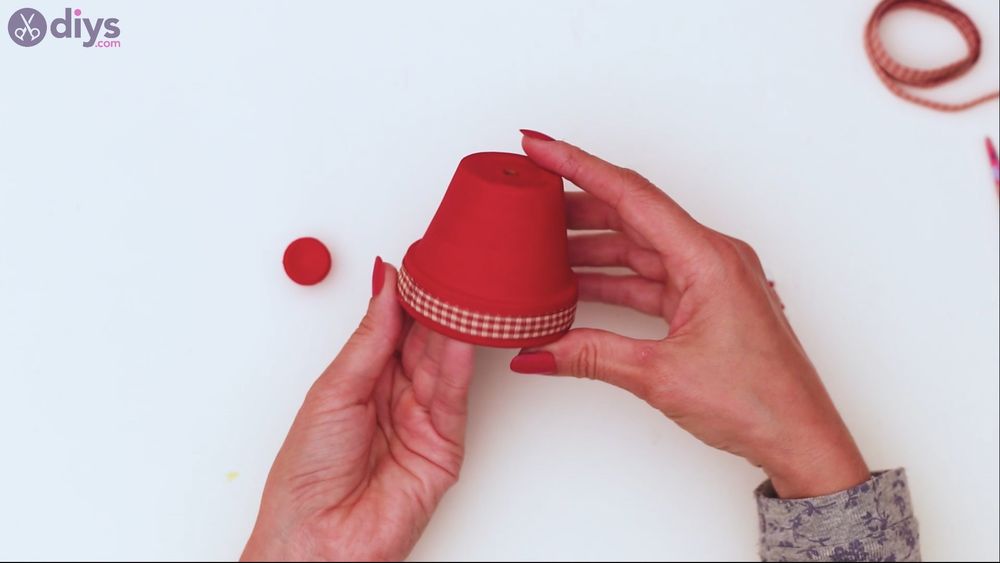
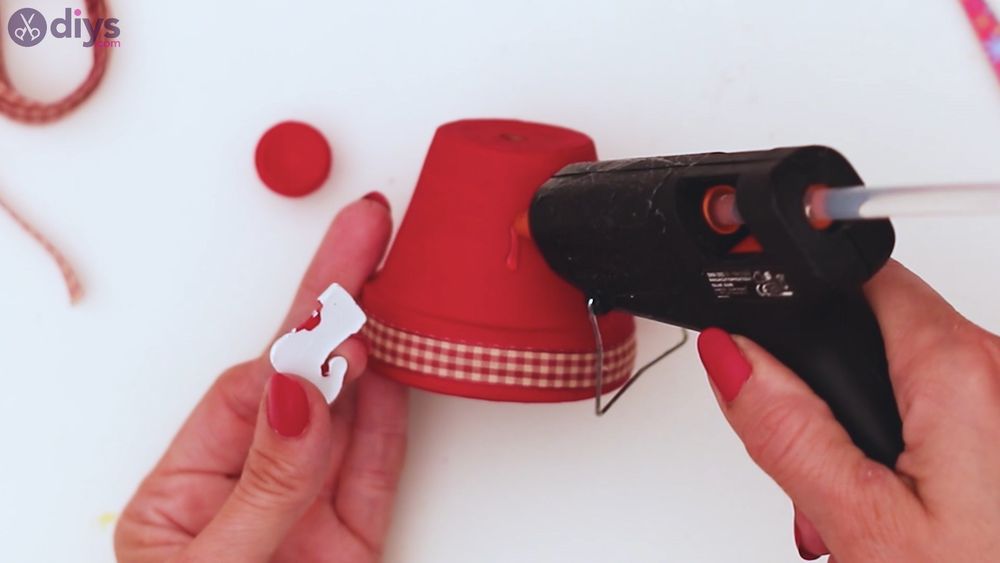
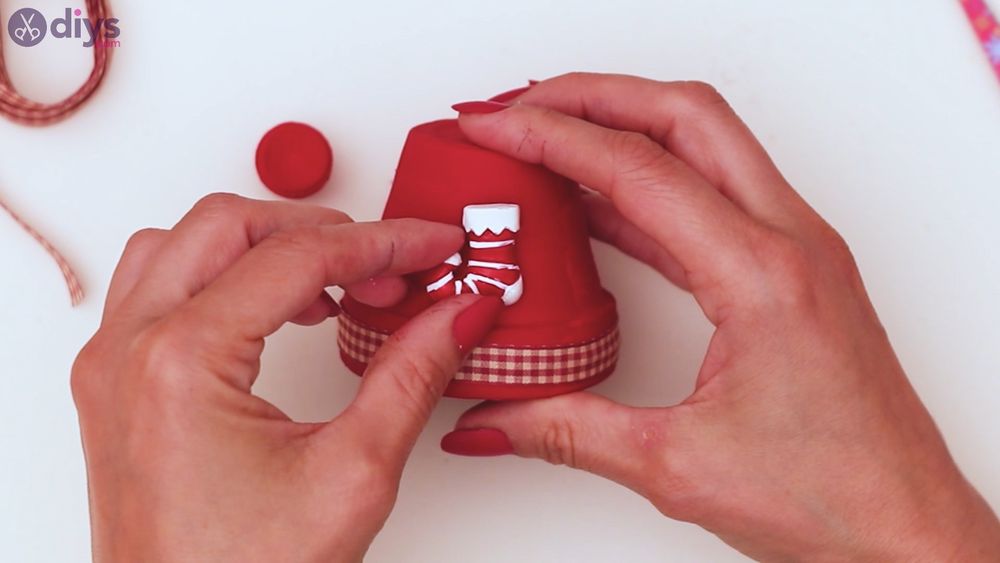
Next, you lot want to pick a side and add some more than hot gum. Then, pick up the Christmas sock decoration slice and place information technology over the glue.
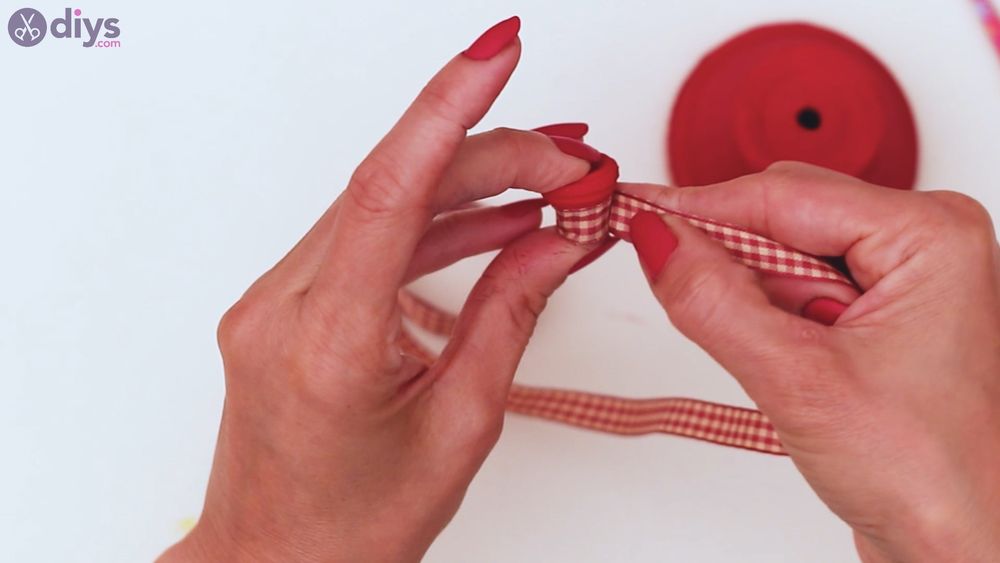
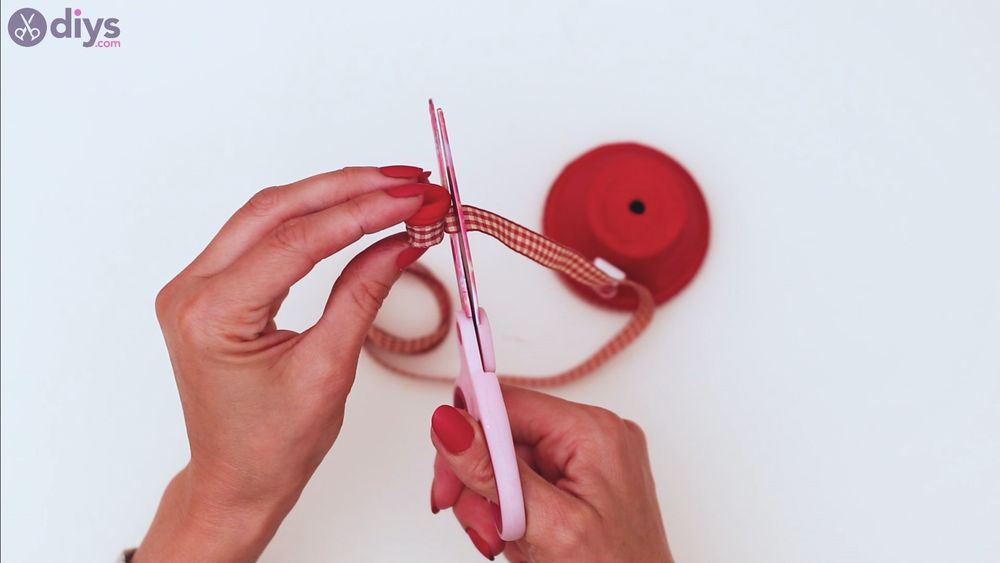
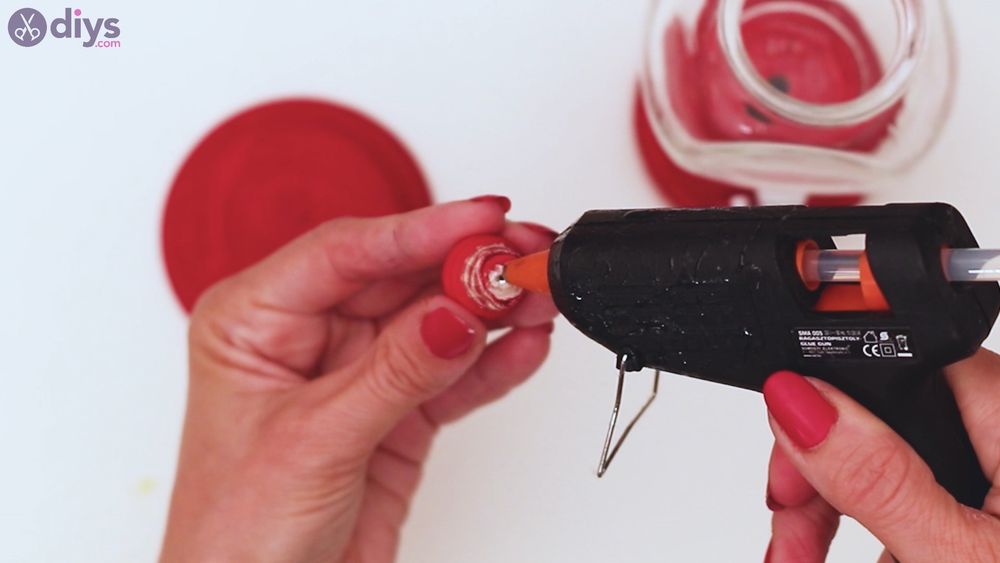
Step 3: Decorate the Article of furniture Button
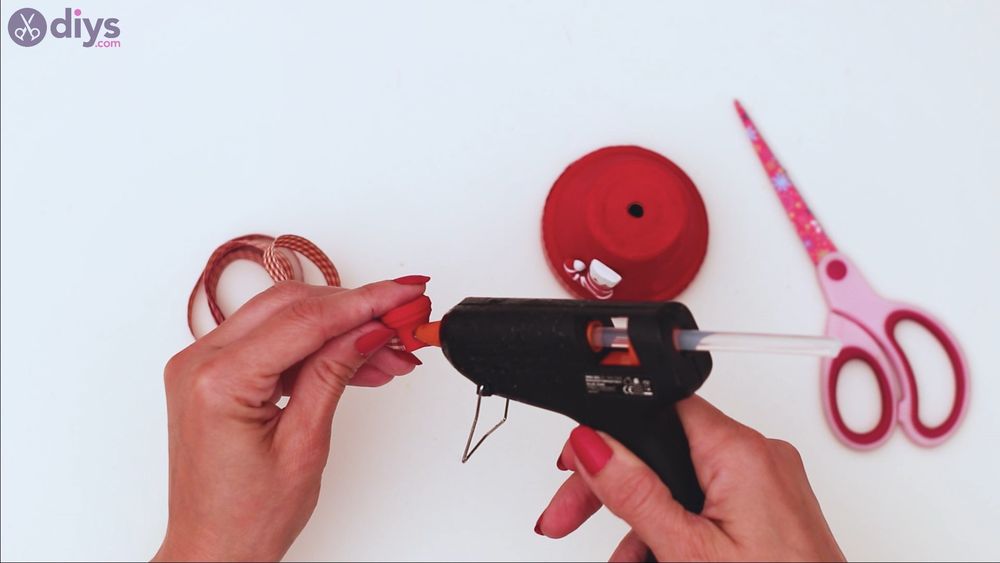
The primary part of decorating the pot is done, so allow's beautify the button besides! Add together some hot glue to the thin side and press some silk ribbon onto it.
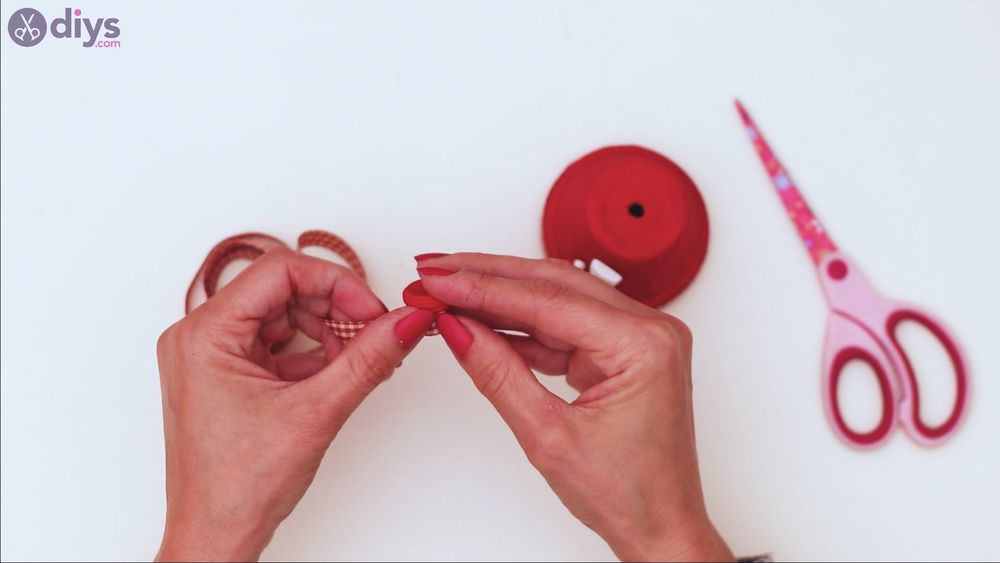
Rotate the button to completely cover it in the silk ribbon. Once you lot achieve the original start point, overlap the ribbon a bit and glue it together. Get the scissors and cutting out the extra cloth.
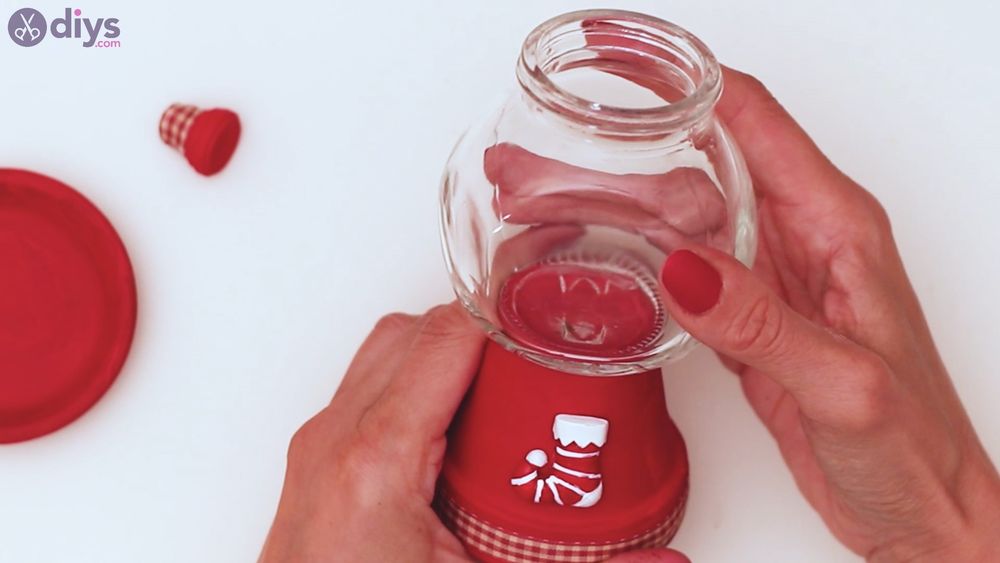
Step 4: Start Setting Up the Candy Jar

Now that most elements are prepared, permit'south start setting upwardly the final candy jar. Get the glue gun and add hot glue to the bottom of the pot. So, get the glass jar and printing its bottom to the glue.
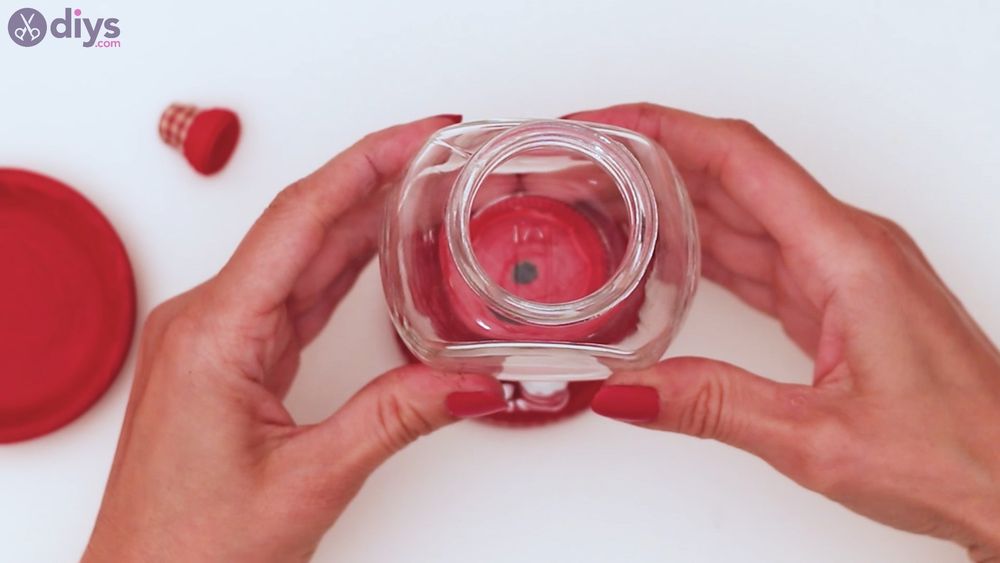
If yous don't know what jar to use, we tin can tell you lot that the Ikea condiment jars are just the correct size for this. Make sure you keep the jar and the pot pressed together for a few seconds to ensure the glue sets right.
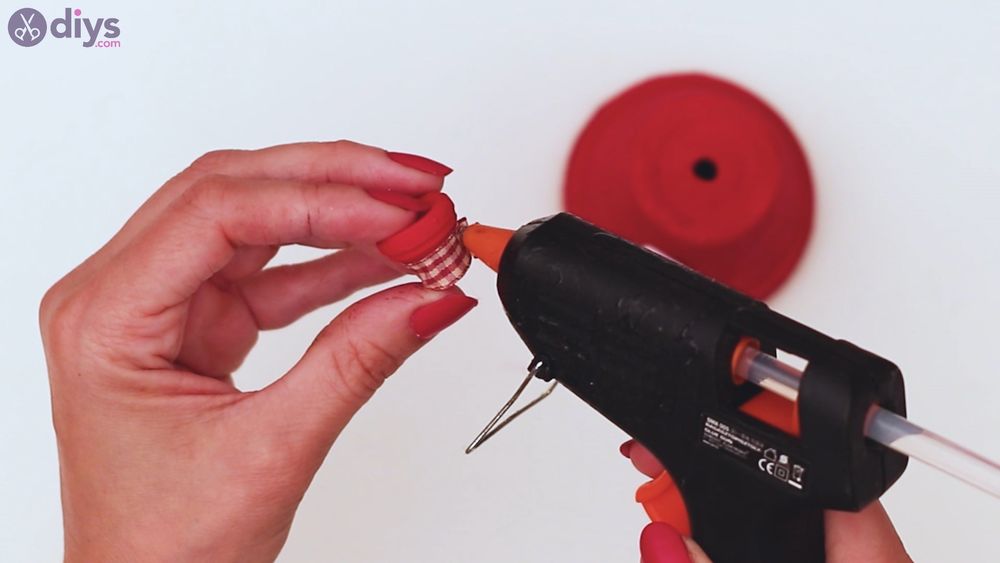
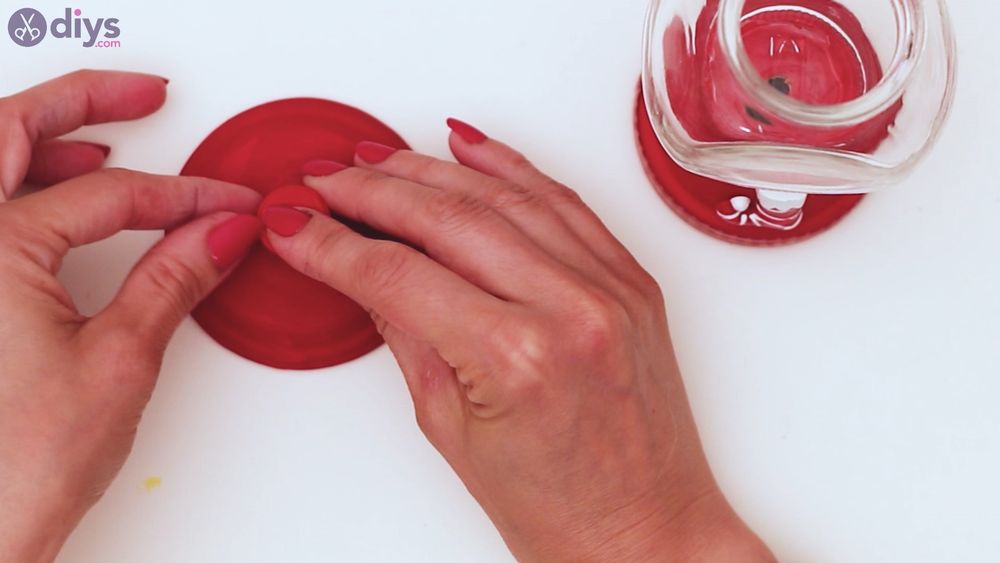
Step 5: Ready the Jar Lid
Next, we have to create the chapeau of this candy jar. So, become the decked-out furniture button and add some hot glue to its lesser. Then, press it on the painted underplate. Brand sure to press it quite well so the glue sets.
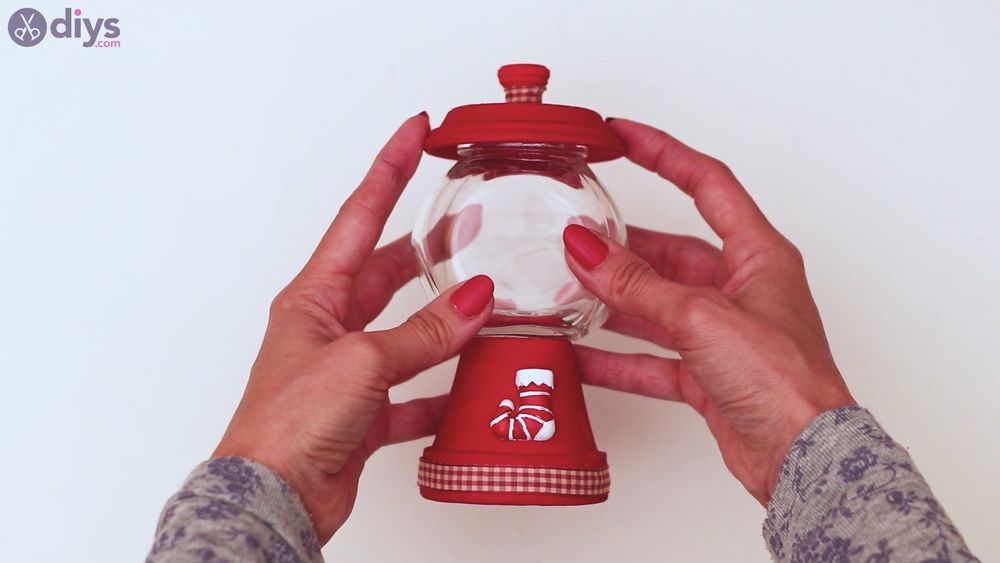
There you go! That's the cutest candy jar ever! It's all Christmasy and super beautiful and ready to exist filled with delicious candy. This tin can be a swell decoration for your Christmas gear up, you can place it under the tree, or if you make plenty of them, yous can even gift them out to friends and family.
Last Thoughts on Christmas Candy Jar
We think this is a super cute Christmas decoration, so we'd love to run into your jars equally well! Let us know what y'all filled yours in. We're going to go make a few extras!
Source: https://www.diys.com/christmas-candy-jar/
0 Response to "Cool DIY Christmas Decoration - Create a Christmas Candy Jar"
Post a Comment